
Steps to Installing Pavers:
- Making sure the base is deep enough
- Filter Fabric
- Base Material
- Compaction
- Setting Bed
- Install Pavers on top of the setting bed
- Edging PVC
- Sweeping & Compacting
- Backfilling
 Although this article is fairly brief, it is the basic foundation for building a long lasting paver project in CT.
You may notice that at different times we in the paver industry reference the ICPI (Interlocking Concrete Pavement Institute). For an easy explanation, the ICPI is the organization that sets the International guidelines and standards for our industry. International is a very key point in this because as we go along, you will begin to realize how important it is that some of these standards are exceeded for the longevity of a project.
So, with that brief intro., let's get started...
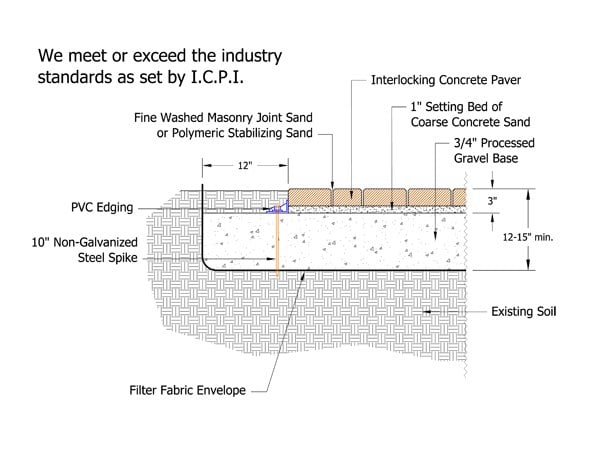
Below is a beautifully illustrated cross section of a typical paver installation. I will go into each portion of this in more depth below.
9 Basic Steps to a Paver Installation:
1. Depth of Base
Making sure the base is deep enough is necessary to ensure a long lasting project. Not enough base will result in the excessive movement of the pavers.
2. Filter Fabric
Basically this is an extremely durable and heavy duty fabric envelope that contains the base material.
3. Base Material
3/4" processed gravel. We recommend a mimimum of 7-8" of base material in well draining soils and no less than 11-12" of base material in poorly draining soils.
Note: Stone Dust (as we know it here in New England) will not drain properly. Do Not take shortcuts on base material.
4. Compaction
Compaction, Compaction, Compaction!!! I cannot stress enough how critical this step is. If this step is skipped or not done properly, I can guaruntee that your project will not last.
5. Setting Bed
1"-1½" of sand over the compacted base material in preparation to lay the pavers. The pavers will be installed directly on top of this layer.
It is imperative to use the correct materials or shifting and settling could occur, and never use stone dust.
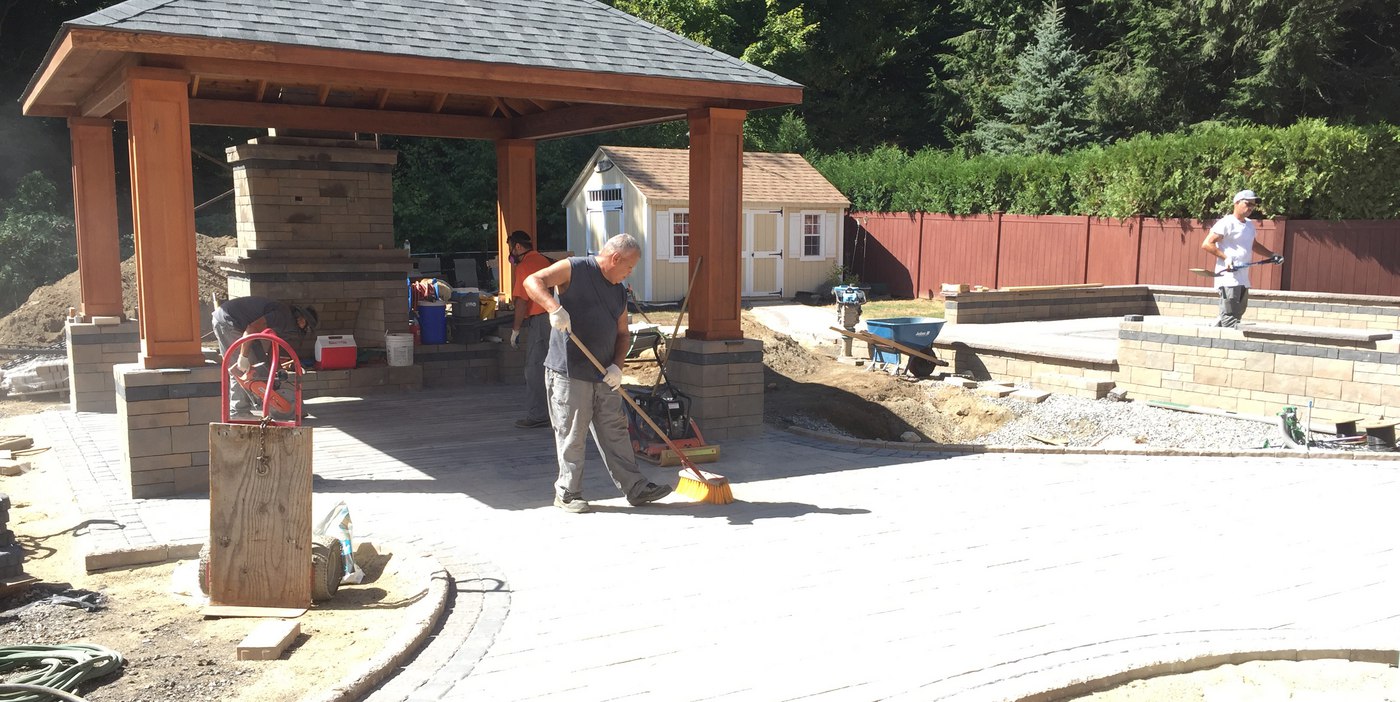
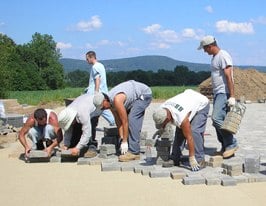
6. Install Pavers
The pavers are installed on top of the setting bed. Paver, color, and pattern are left up to the homeowners discretion.
7. Edging
PVC units spiked into place to keep the pavers from moving side to side.
8. Sweeping & Compacting
Joint Sand must be swept into the spaces between the pavers and the pavers compacted into the setting bed at least 3 times.
9. Backfilling
All exposed outer edges of the pavers (especially any exposed edging) should be covered with topsoil.
If you would like a more detailed and technical illustrated guide on a long lasting paver installation, please click the link below to download our 7 page, full color whitepaper.

Related Articles:
What is Joint Sand for Pavers?
The Top 7 Problems and Solutions for Concrete Pavers
5 Things You Should Know BEFORE You Receive a Paver Patio Estimate