
Polymer Sand | Paver Joint Sand | Hardscape Cleaning and Maintenance
How to use polymeric sand:
- Don’t cheap out on sand
- Read the Instructions
- Set aside ample time for the project, haste makes waste
- Check the weather, you will need two days of sun and dry weather
- Use a broom to fill gaps
- Remove excess residue with a leaf blower
- Shower your pavers to seal and harden the sand
- When watering in the Poly Sand, you shouldn’t water too much or too little
- Let your pavers rest
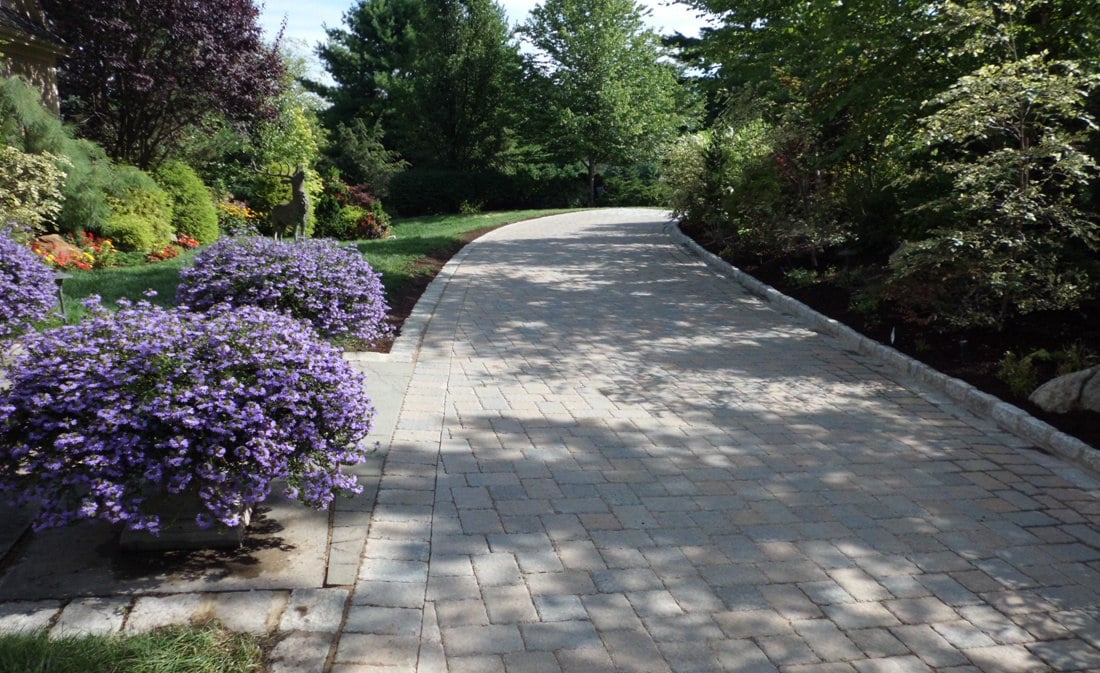
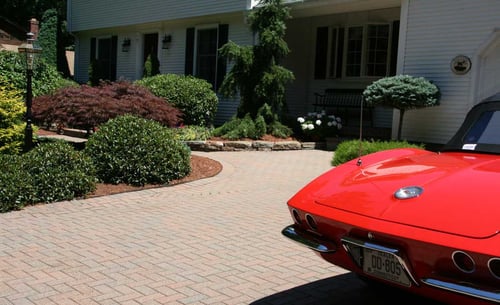
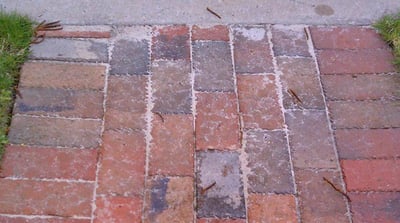
We’ve all seen those patios with the nice green border around each of the pavers. Appealing, right? We’ve also all seen patios with a ton of weeds or little anthills jutting out of the cracks in its border? It seems that everyone has come across one of these issues when dealing with pavers. The gorgeous weed- and ant-free paver driveway is the product of polymeric sand.
What is Polymeric Sand?
Historically, pavers for patios, walkways, and driveways were installed with regular masonry sand. After paver installation, the sand would be swept into the paver joints. But the lack of binders in the sand would allow washout and cause weeds, grass and ant hills to form.
The introduction of polymeric sand helped homeowners prevent these unfavorable occurrences, however. Poly sand is an advanced mix of fine sand and polymer additives. Upon proper installation, the polymers activate and bind the joint sand matrix inside the paver joints.
Poly sand is thus known for its durability. Its binding ability locks pavers together, allowing the joints to stay strong for the long haul. Where regular masonry sand of yesteryear allows water to seep through and wash between the layers of the underlying patio, polymeric sand stays put when it rains. This advanced sand remains solid and dry to stop weed and insect infestation. Yet, it becomes relatively flexible when wet to prevent cracking during freezing and thawing.
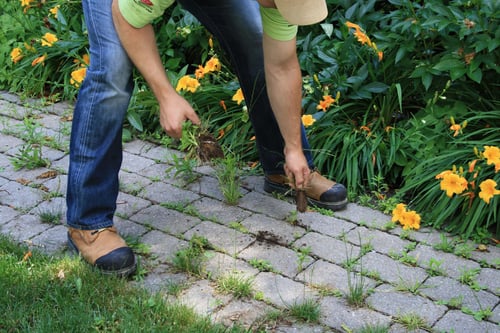 Weeds can grow in the worst of conditions, including traditional paver joint sand. But because polymeric sand hardens and seals, it’s much more difficult for weeds to root in. As for insects, ants like patios for their loose dirt, making it good ground to colonize. Polymeric sand is too hard for ants to tunnel through, however.
Expert Tips For Solid Polymeric Sand Use
How do you make sure you’re using polymeric sand properly? What steps must you take to ensure an unshakable installation?
- Don’t cheap out on sand
Some sand manufacturers use lower-quality polymers and sand in order to cut their own costs. While this will save you some money in the short term, you’ll just wind up needing to redo your work sooner than necessary. The polymers that last longest cost a little more, but you won’t have to dip back into your bank account for quite some time. 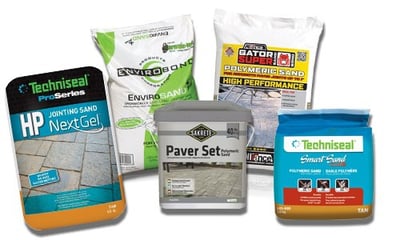 Read the Instructions
Each manufacturer puts installation instructions on their packaging for a reason. Save yourself a lot of stress, mess and money and follow the directions. Improperly installed poly sand can ruin a great paver project.- Haste makes waste
If you want your patio finished for tomorrow's family picnic, you should rethink your timeline. Because it takes time for sand to set, you’d be better off rescheduling the installation. It’ll be worth the wait to avoid the risk of a potential disaster. - Check the weather
 In order for the paver joints to set properly, they ideally need two days of sun and dry weather. A hard rain could require you to start over. If rain shows up before or shortly after finishing your installation of poly sand, you will have a literal mess on your hands. Installing polymeric sand when the surface of your pavers is wet can also cause unwanted sticking of the polymers to the surface, which can make them difficult to remove. If it rains after you’re done and the sand hasn't had time to gel, the sand may wash out onto the top of the pavers and require certain paver areas to be reinstalled.
 - Use a broom to fill gaps
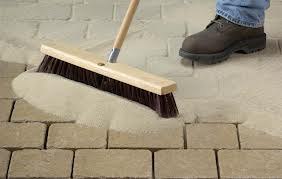 Filling the gaps of a paver is vital to a proper installation. Using a back and forth motion, brush a push broom over the sand to ensure that each joint is filled to the entire depth of the paver. After brooming it into the joints, pack the sand down to remove air pockets and eliminate inconsistencies throughout the polymeric sand. While skipping this step may save you time, you’ll also risk having joints that settle, crack, and break over the long term.
*Ideally, you’d use a rolling compactor or plate with a neoprene pad compactor to run over the surface of the pavers and eliminate air pockets in the joint sand. This tool will increase the overall strength and performance over the long run. - Remove excess residue with a leaf blower
Use a leaf blower at its lowest setting to blow away any excess polymeric sand residue. Angle the blower at roughly 30 degrees to ensure you're not blowing sand out of the cracks. You also want to make sure you’re removing all the dust off the surface of the pavers, which may cause staining on the pavers after drying. - Shower your pavers to seal and harden the sand
 As with the leaf blower, use the light pressure of a shower nozzle to gently water the sand according to the manufacturer's instructions. Don’t use a hose's normal pressure to spray your pavers. You want to saturate your sand just until the water stops soaking into the joint. Remember, using too much water too quickly can wash out the polymers, while too little water can leave your joint fragile and susceptible to to cracking under slight distress.
 - When watering in the Poly Sand, remember Goldilocks - "This is just right."
Don't use too much or too little water. The amount of water you use is a critical element to an installation. Using too much water can cause the joint to over-saturate and result in polymer washout, mushy sand, and a weak bond. It can also result in excess sand spreading onto the surface of the pavers, which is both hard to remove and an eye sore. Conversely, failing to use enough water leads to an incomplete polymer activation and weak bond, washout, and less resistance to weeds and ants infestation. - Let your pavers rest
No matter where you install your pavers, you want to give them time to set and rest. Keep away from walks and patios for at least 24 hours. If the pavers are for your driveway, wait 48 hours before driving over them, It’s also best to wait a full 30 days before you try to clean or seal your pavers. They need weeks to fully cure.
Install Strong Pavers with Polymeric Sand
Polymeric sand is a great alternative to traditional paver joint sand and its common pitfalls. Make sure you follow these best practices when installing pavers. Your patio will be weed- and ant-free for years to come, and you won’t have to worry about installing pavers for years.
If this process seems a little daunting, you can always reach out to our expert for advice or have us give you an estimate to do the work for you. If you’re looking for a contractor to help, look over our contractor comparison checklist.
Just click below to get your copy of our comparison checklist.